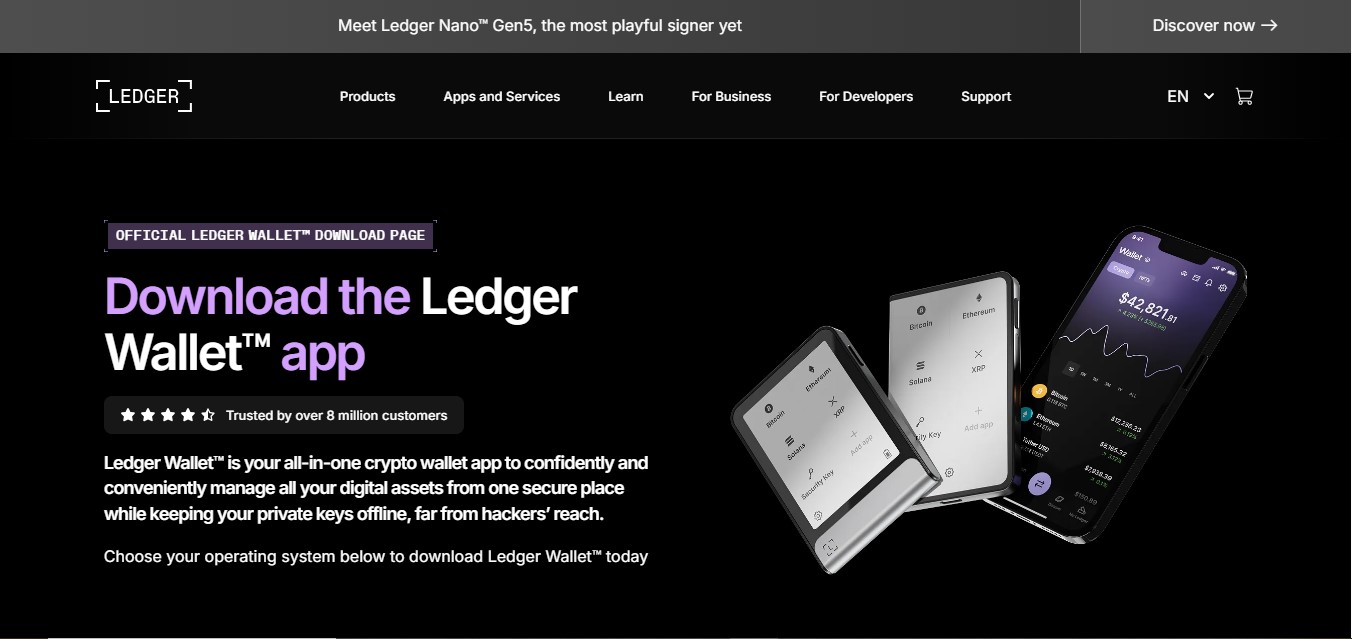
Ledger.com/start: Easy Steps to Secure Crypto
The world of cryptocurrency is exciting, but it can also be intimidating, especially when it comes to keeping digital assets safe. Hackers, phishing attacks, and exchange vulnerabilities make proper security essential. For anyone looking to securely manage cryptocurrency, Ledger provides an industry-leading solution with its hardware wallets and companion app, Ledger Live. The official starting point for safely setting up a Ledger wallet is Ledger.com/start.
This guide will walk you through why starting at Ledger.com/start is the safest option, and it provides step-by-step instructions for securing your crypto efficiently, from unboxing your device to managing assets on Ledger Live.
What Is a Ledger Wallet?
A Ledger wallet is a hardware device that stores cryptocurrency private keys offline. Unlike software or online wallets, Ledger keeps keys physically isolated from potential online threats. This means your funds remain safe from malware, phishing attacks, and other cyber threats.
Ledger wallets, including the Ledger Nano S Plus and Ledger Nano X, support hundreds of cryptocurrencies, including:
Bitcoin (BTC)
Ethereum (ETH) and ERC-20 tokens
Litecoin (LTC)
Cardano (ADA)
Solana (SOL)
Combined with Ledger Live, the official companion app, Ledger wallets allow you to send, receive, track, stake, and swap cryptocurrencies safely in one platform.
Why Ledger.com/start Is the Official Starting Point
Starting your crypto journey at Ledger.com/start provides multiple advantages:
Official Software Downloads – Avoids phishing websites and malware.
Step-by-Step Guidance – Helps beginners and advanced users set up wallets securely.
Device Initialization – Instructions for creating a PIN and securing a recovery phrase.
Ledger Live Installation – Guides you to safely install and connect the software to your hardware wallet.
Using the official starting point guarantees your setup follows best practices for security and usability.
Step 1: Unbox and Inspect Your Ledger Wallet
Before connecting your Ledger device:
Check the packaging: Ledger wallets come in tamper-evident packaging. If the seal is broken, do not use the device.
Inspect the hardware: Ensure there is no visible damage or signs of tampering.
Verify authenticity: The holographic sticker and serial number confirm that the device is genuine.
These initial checks are simple but critical for establishing a secure foundation.
Step 2: Visit Ledger.com/start
Open a secure browser and go to Ledger.com/start. This official starting point will guide you to:
Download Ledger Live, the app for portfolio management and transactions.
Connect your Ledger device using USB or Bluetooth (Ledger Nano X).
Follow guided steps to create or recover a wallet.
Using this verified link ensures your software is authentic and free from malicious modifications.
Step 3: Download and Install Ledger Live
Ledger Live is your secure interface for managing cryptocurrency:
Portfolio Management: Track your balances and account performance.
Send and Receive: Confirm transactions directly on your hardware wallet.
Staking & Rewards: Stake supported coins to earn rewards.
Buy, Sell, and Swap: Interact with trusted third-party services safely.
To install Ledger Live:
Download the application from Ledger.com/start.
Choose the platform (Windows, macOS, Linux, iOS, or Android).
Follow the installation prompts for your device.
Ledger Live ensures all your crypto activities are conducted safely and efficiently.
Step 4: Connect Your Ledger Device
Connect your Ledger wallet to your computer or mobile device:
Ledger Nano S Plus: Connect via USB cable.
Ledger Nano X: Connect via USB or Bluetooth.
Ledger Live will detect the device and guide you through the setup process.
Step 5: Create or Recover a Wallet
Creating a New Wallet
Generate a 24-word recovery phrase on the device.
Carefully write down the phrase using the recovery card.
Verify the words in Ledger Live.
This recovery phrase is your lifeline if the device is lost, stolen, or damaged.
Restoring an Existing Wallet
Select “Restore Wallet” in Ledger Live.
Enter your 24-word recovery phrase.
Confirm that all accounts and balances are restored.
Using a recovery phrase ensures access to funds across devices while maintaining security.
Step 6: Set a PIN Code
Protect your Ledger wallet with a PIN code:
Choose a unique PIN that is hard to guess.
Use the device’s randomized on-screen keypad to prevent keylogging.
Never share your PIN with anyone.
The PIN acts as a first line of defense if the device is lost or stolen.
Step 7: Add Cryptocurrency Accounts
Once the wallet is set up:
Add accounts for supported cryptocurrencies.
Each account is linked to your hardware wallet and Ledger Live.
Users can organize accounts for trading, staking, or long-term storage.
This step simplifies portfolio management and helps keep your assets organized.
Step 8: Explore Ledger Live Features
Ledger Live offers a range of features to make crypto management easy:
Send and Receive: Confirm every transaction on the device for maximum security.
Portfolio Overview: Monitor balances and asset performance in real time.
Staking & Rewards: Stake coins like Tezos (XTZ), Tron (TRX), and Algorand (ALGO) to earn passive income.
Buy, Sell, & Swap: Use trusted third-party partners without exposing private keys.
Transaction History: Track completed and pending transactions for transparency.
Ledger Live centralizes all crypto management tasks in one secure app.
Step 9: Backup and Recovery
Proper handling of your recovery phrase is critical:
Write it offline on the Ledger-provided card or a secure notebook.
Store it in a safe, fireproof, and waterproof location.
Never share it online or digitally.
Consider testing recovery on a secondary device for assurance.
This step ensures your funds remain secure under all circumstances.
Step 10: Follow Security Best Practices
To maximize security:
Only download Ledger Live and firmware updates from Ledger.com/start.
Keep your PIN and recovery phrase private.
Regularly update your Ledger device firmware.
Always verify transaction details on the hardware device before confirming.
Enable optional privacy features in Ledger Live, such as coin control.
Following these best practices reduces the risk of loss and ensures your crypto is protected.
Why Ledger.com/start Is the Safe Choice
Using Ledger.com/start guarantees:
Access to official, verified software
Clear step-by-step setup instructions
Secure initialization of hardware wallets
Proper guidance for PIN setup, recovery phrase storage, and account creation
This official pathway prevents phishing scams, malware downloads, and mistakes that could compromise your funds.
Final Thoughts
Starting your cryptocurrency journey safely begins with Ledger.com/start. By following the official instructions, you ensure that your hardware wallet is genuine, your software is secure, and your assets are protected from the very beginning.
Ledger wallets, combined with Ledger Live, provide a complete solution for managing digital assets safely, including:
Hardware-level security
Portfolio tracking and management
Staking and rewards programs
Buy, sell, and swap functionality
Self-custody and privacy-focused features
Whether you are new to cryptocurrency or an experienced investor, following the setup process at Ledger.com/start ensures your funds remain secure, organized, and fully under your control.
Key Takeaways
Ledger.com/start is the official starting point for Ledger wallet setup.
Hardware wallets keep private keys offline, protecting against malware and phishing attacks.
Ledger Live allows secure portfolio management, transactions, staking, and swapping.
Recovery phrases and PIN codes are essential for wallet security.
Following best practices ensures your cryptocurrency remains safe and accessible.
By starting at Ledger.com/start, you take the first step toward safe, self-custodied cryptocurrency management.